In collaboration with Juan Recamán / Thanks to Dar-Qandeel For Arts and Culture and Bötti du Shcöggiu
Overview
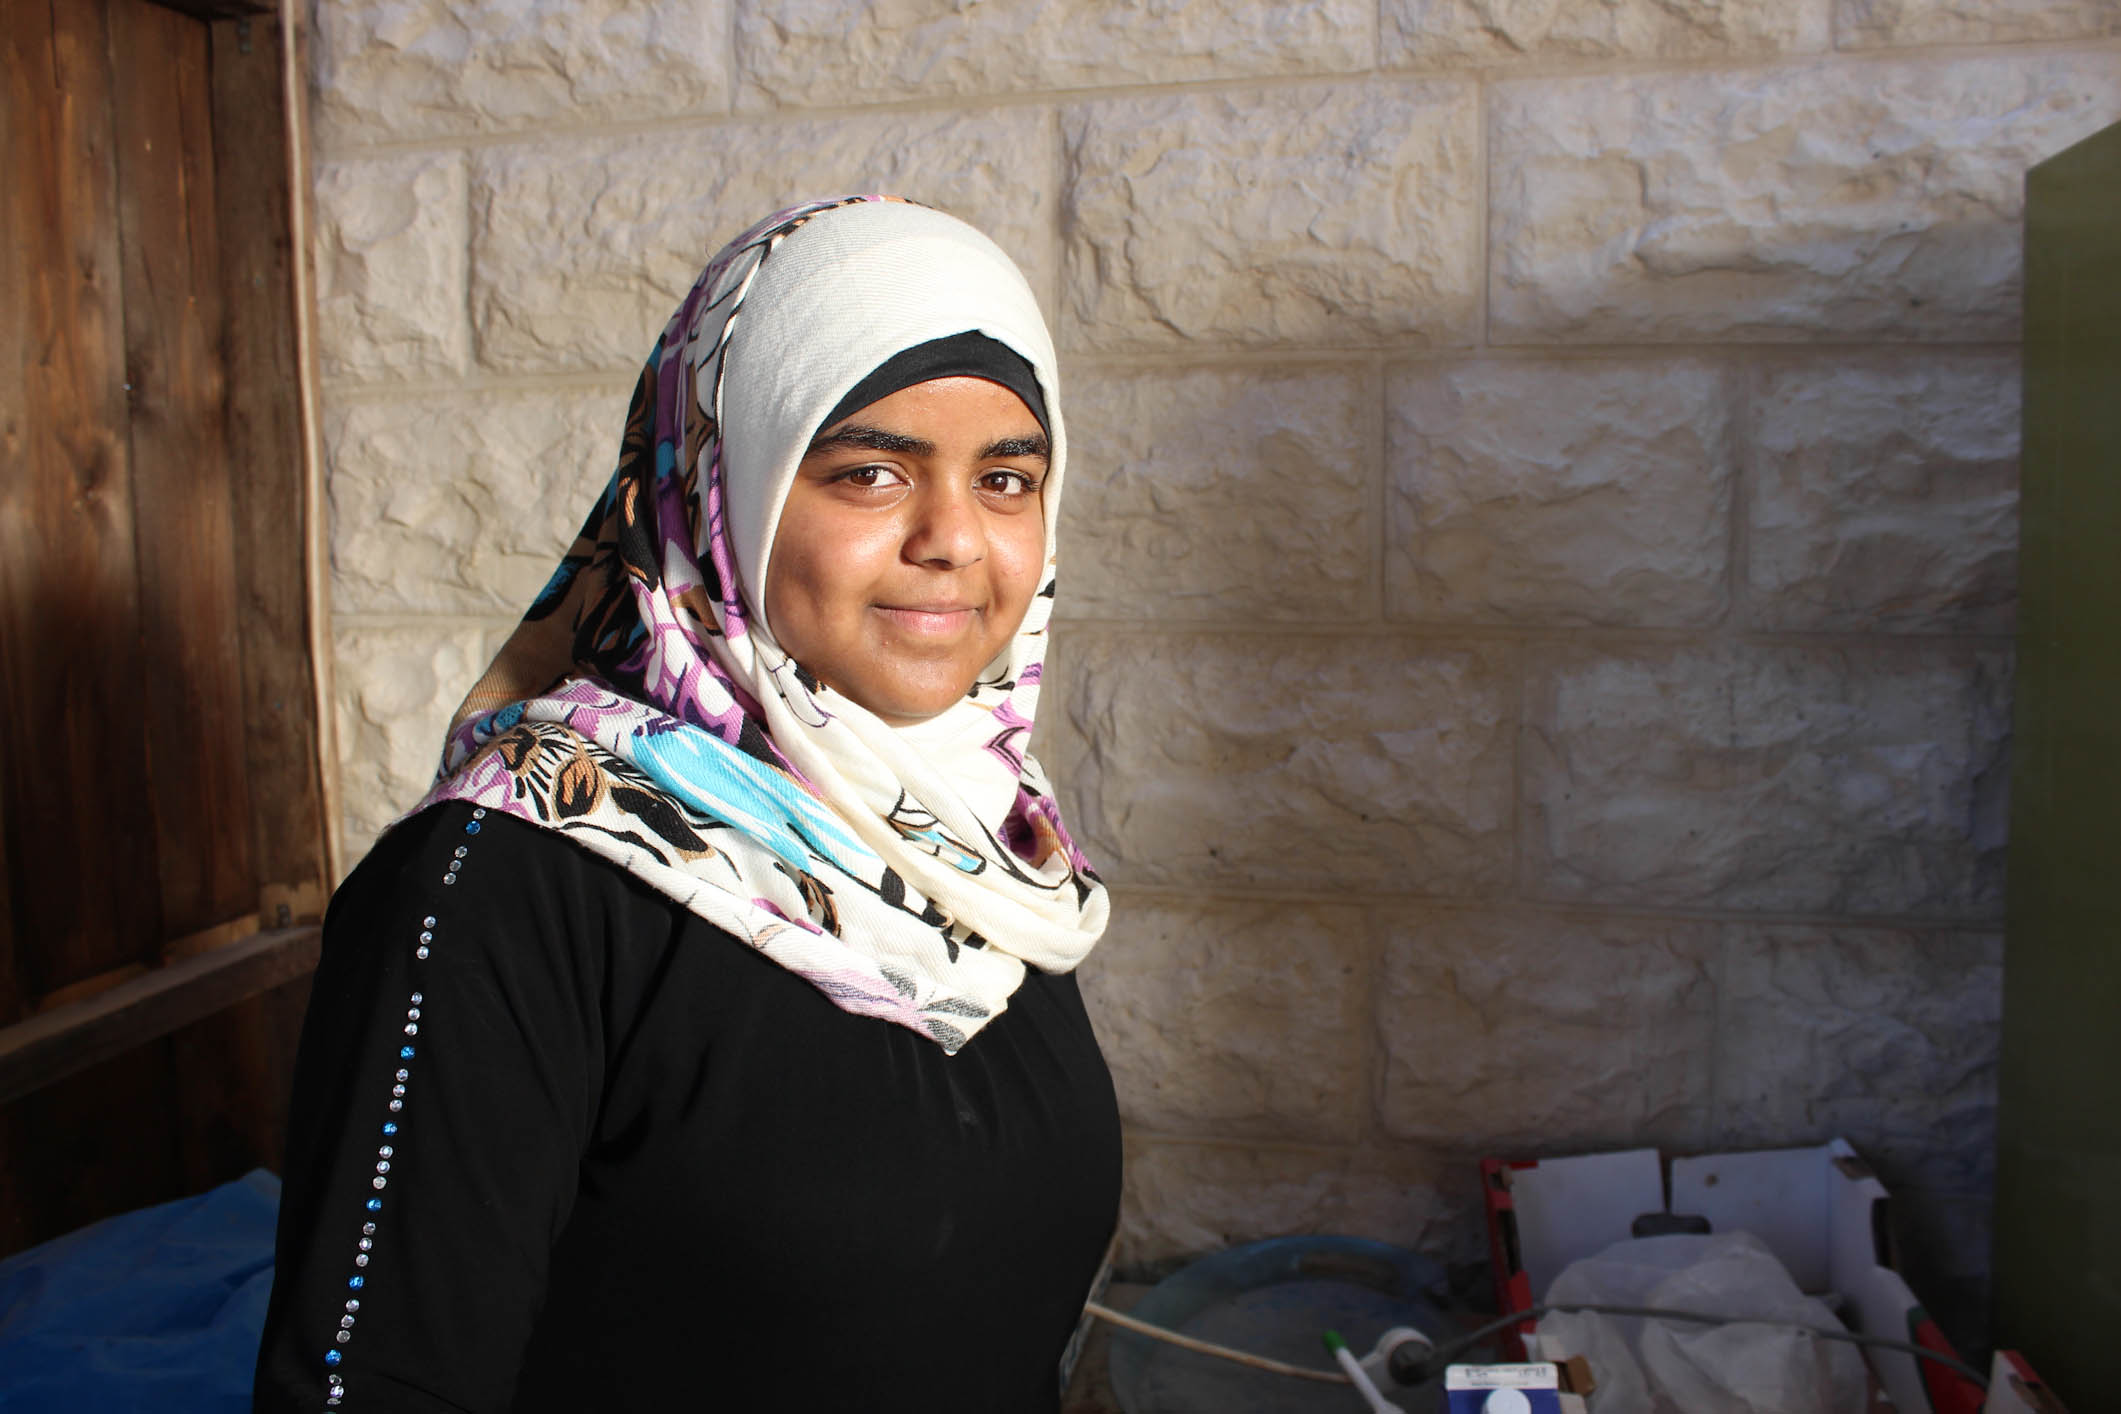
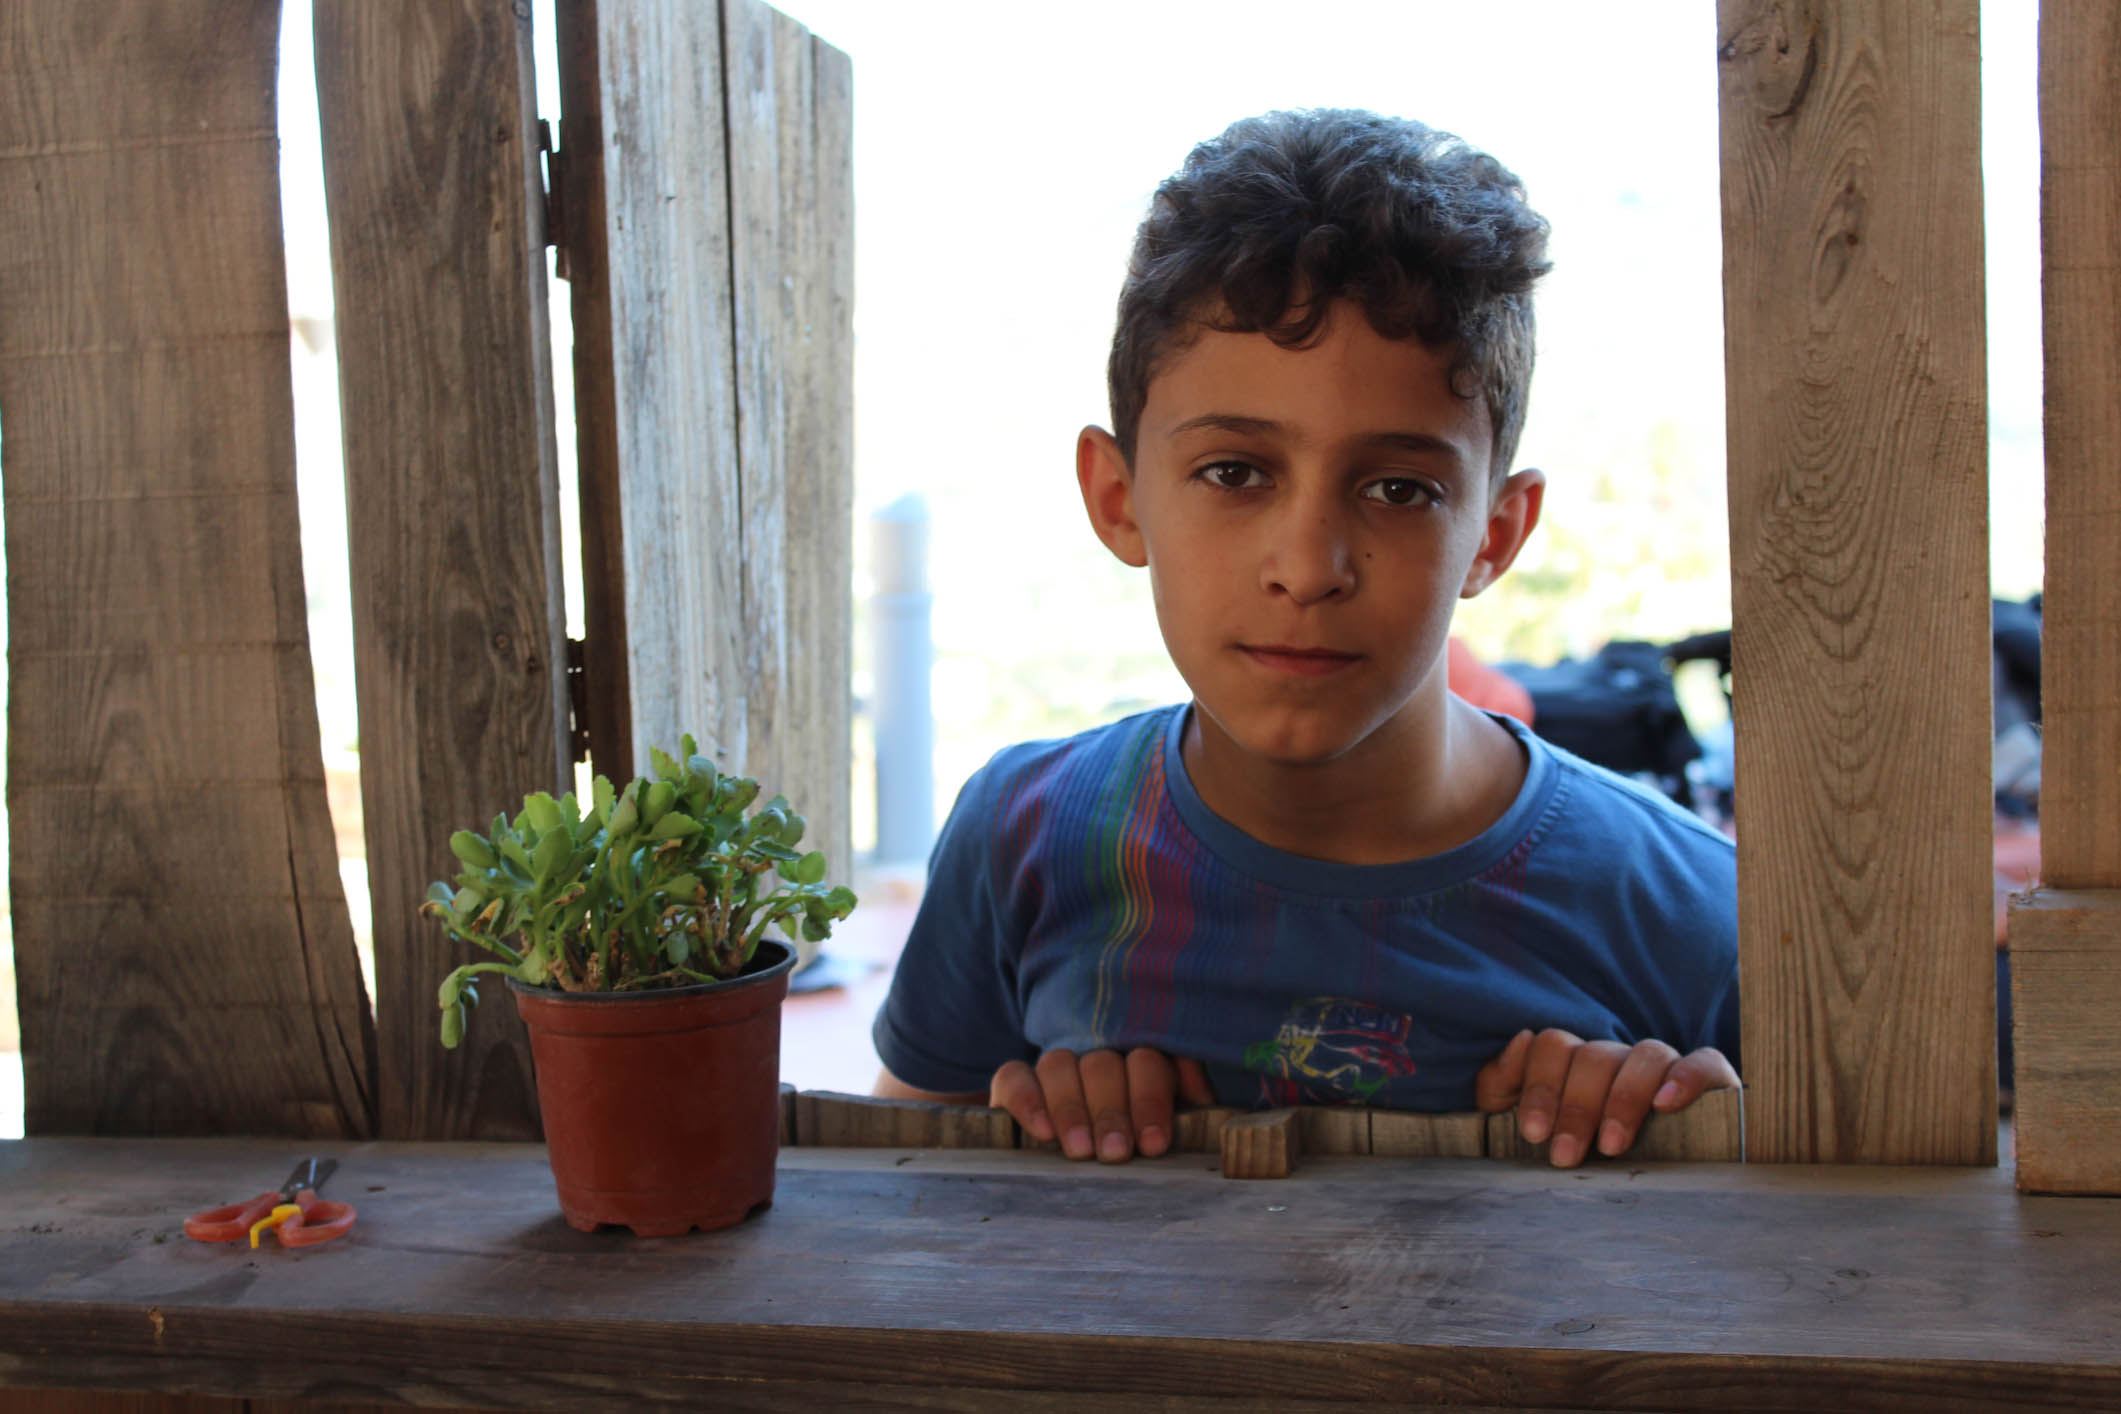
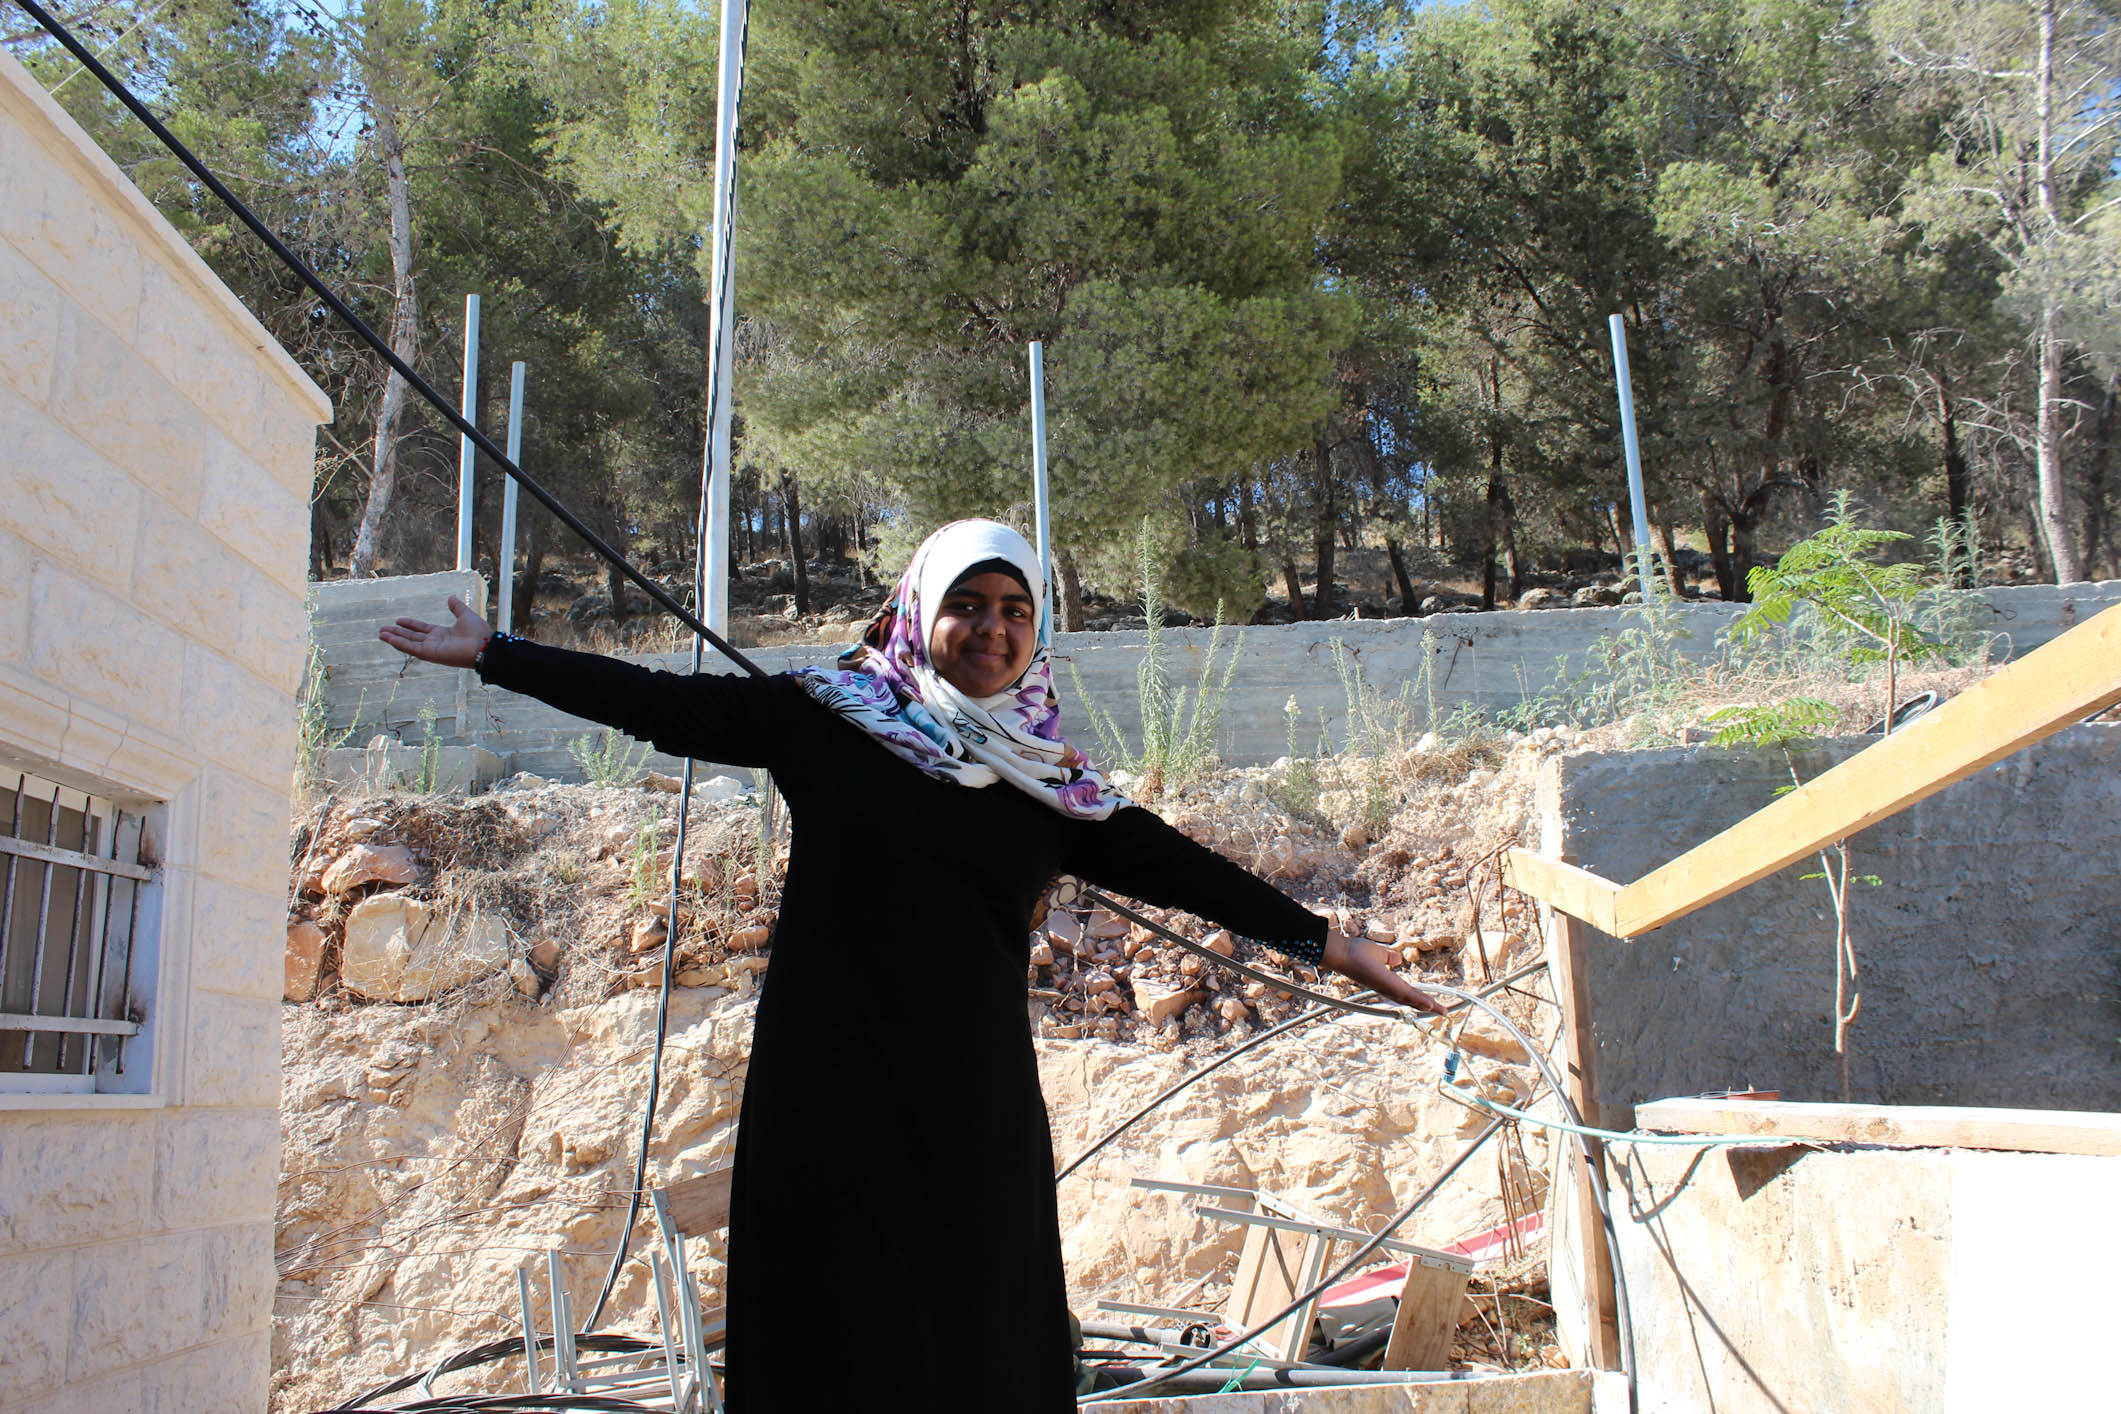
The idea is to focus on the creative process of image making through the individual experience of looking out. There is no good or bad picture, every element is crucial to learn.
In this approach the relation between student and teacher is equal. Everyone is engaged in a learning and creative process. Trough their knowledge and experience, the teachers help to bring out the expressive needs of each student and to provide the appropriate tools.
The technique and the technology serve the purpose of expressing student creativity. They are introduced only when the students find out about their specific needs. When they are not based on individual experience, the technical elements can become an obstacle, break the learning process and discourage the students to engage with the class. For example, the teachers can introduce exposure after looking at the first pictures taken by the students and after seeing how they have exposed their photographs.
An important element of the class is the group discussion about the individual student’s work. By sharing comments without judgments, the students learn how to read images and how to improve their image making. Session after session, this open space for sharing thoughts and emotions helps building trust and collaborative spirit within the group as a whole.
Also in this context, the teachers introduce technical and historical aspects about art, photography and multimedia, based on the students’ work and what the group asks for. This can be done through slide shows, video projections, book reading and field trips to museums and galleries.
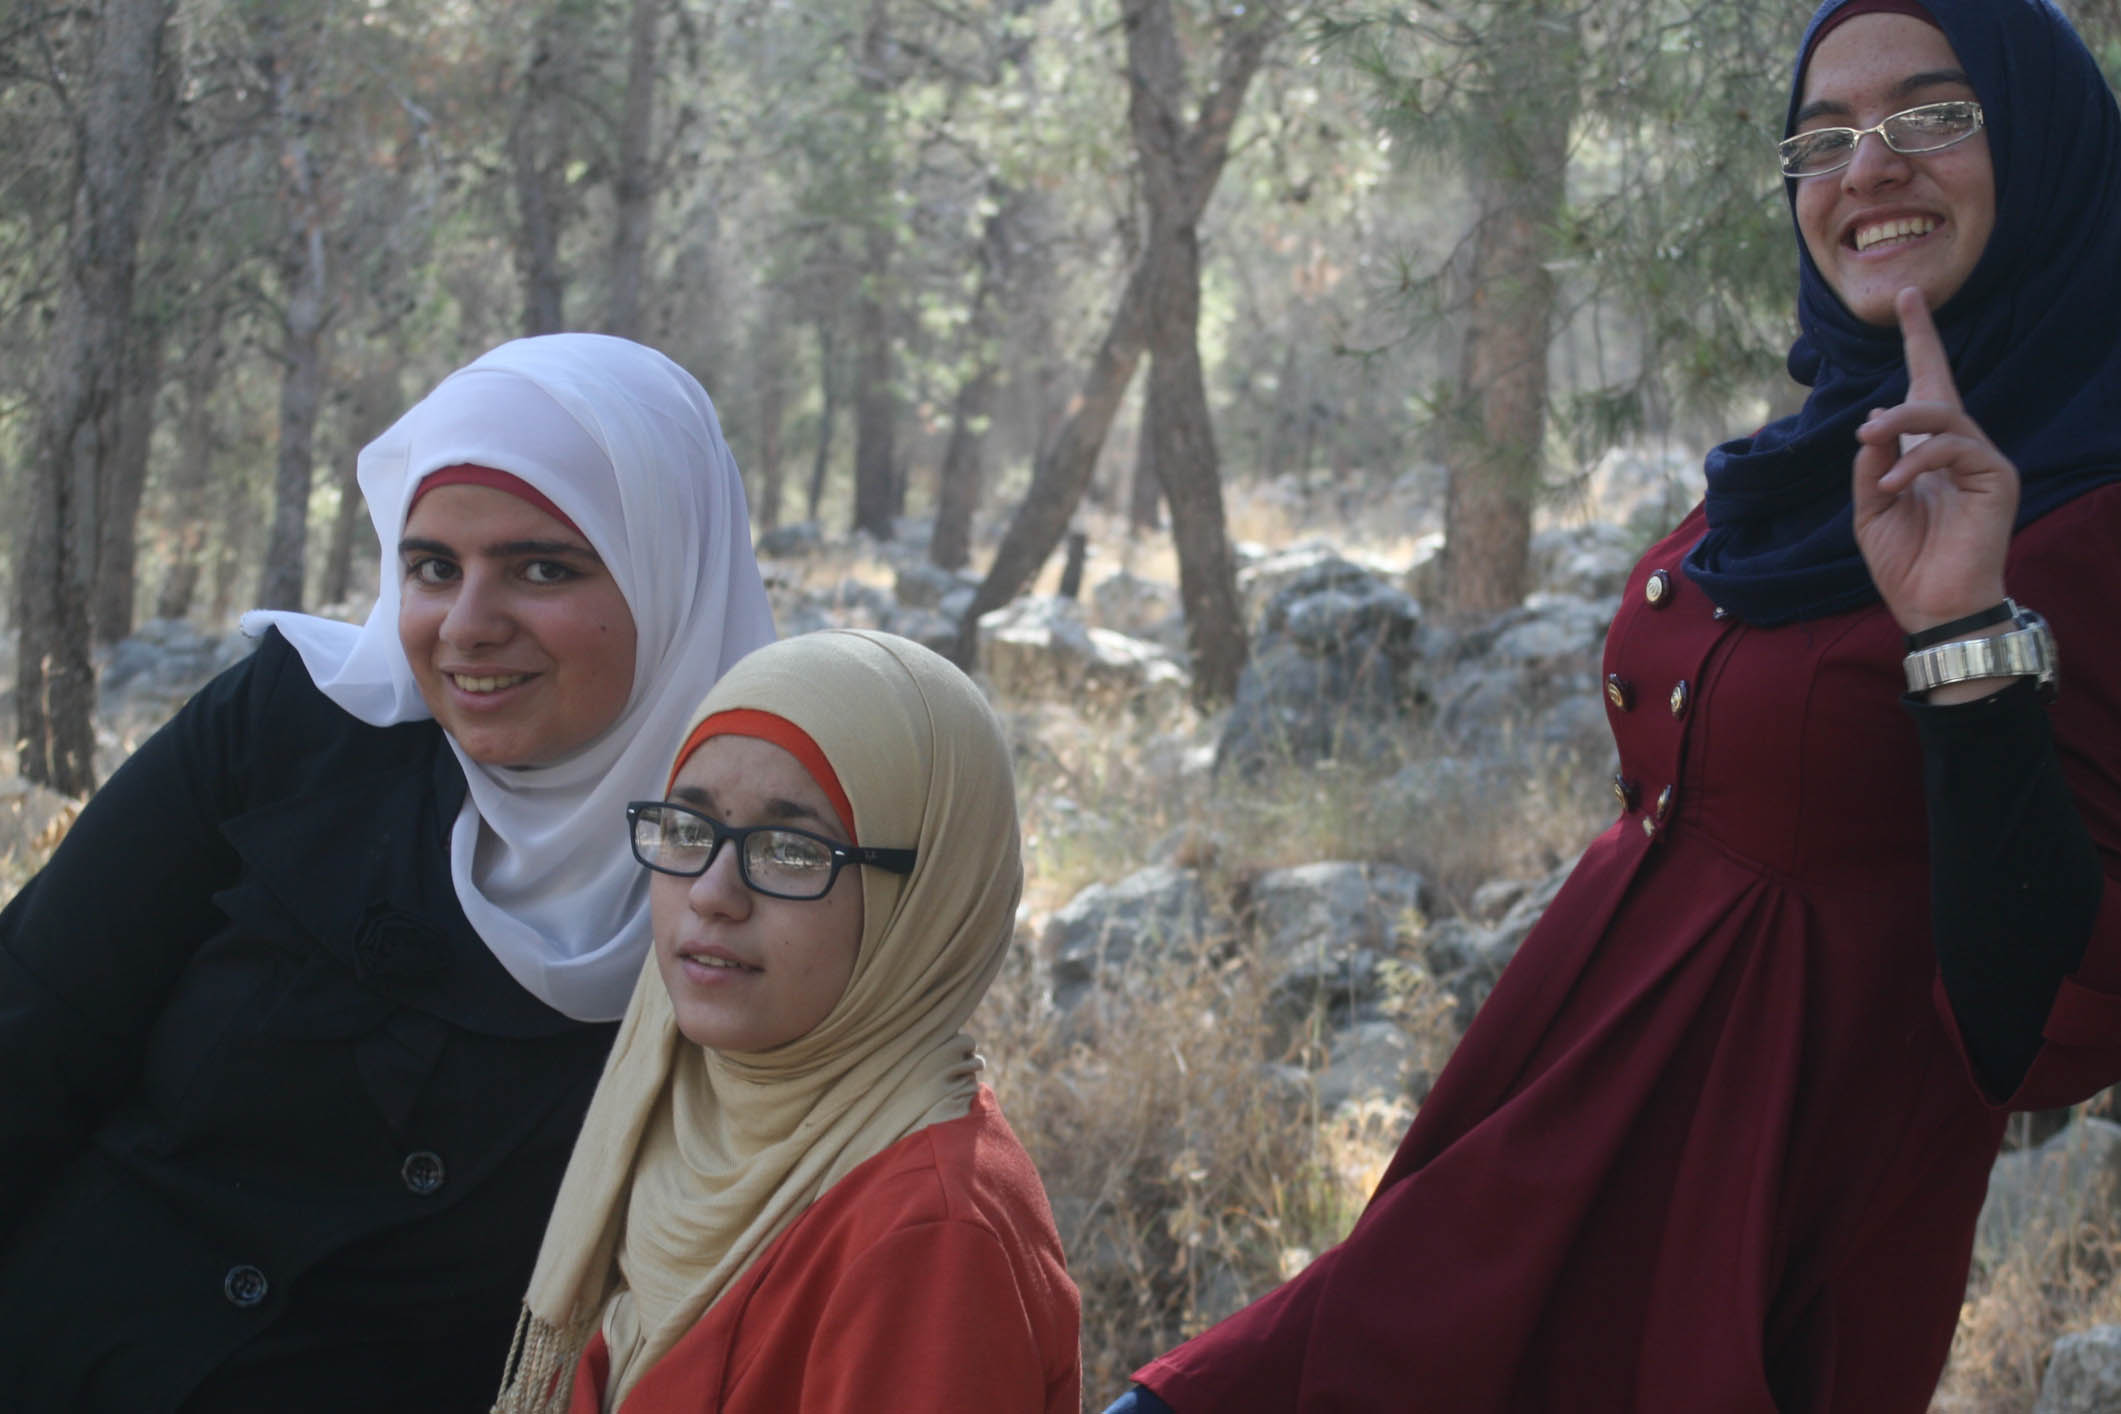
The creative process of art making takes place in a larger context than the classroom itself. By alternating outdoor and indoor, individual and group activities, the students are encouraged to share their own life experience with their peers and with the teachers.
Structure of the class
The work begins with the individual experience of looking out and taking pictures. The students then edit their images with the teacher’s help. Finally, they print the edited selection so that individual work can be addressed in the following session by sharing it with the group. The main principles of image and art making are introduced through the experience and the needs of the students.
Ideally, in the introductory level (first workshop) students are all equipped with the same basic cameras (point-and-shoot). These cameras allow taking pictures without paying attention to sets up and controls, and focusing on looking out. Later, when they get more advanced (second workshop) they are encouraged to use more advanced equipment, based on their specific experience and needs.
A few rules need to be set up for the shooting, the editing and the group discussion.
Shooting
Photography: Take 72 pictures in about an hour, no zooming and no reviewing or playing back while taking pictures [1].
Video recording: Record max 3 minutes of video material. Use the rec start/ stop button to accumulate the 3 minutes material. Be aware of the sequence in which you are recording the clips. At the end of the activity you have to have a 3 minutes worth of video material.
Sound recording: Record 2 minutes sound material. Make sure you have different sources of sound. You could include human voices, generate your own sounds or record field sounds or mix them up.
Editing
Photography: Review all the work of the shooting and select 15 pictures without any influence of the teachers or any other students [1].
Video: Using the rec start/ stop button create a 3min sequence that it could be reproduced directly from the camera without any editing program. Think about a beginning and an end.
Sound: Using the rec start/ stop button create a 2min sequence that it could be reproduced directly from the sound recorder without any editing program. Think about a beginning and an end.
Reviewing
Photography: The photographs need to be printed out so that they can be seen and discussed on paper, they can be laid out on a table or a wall and seen as a group. The prints carry a physical experience that is important for stimulating ideas and emotions. Also they become objects that students can easily review and share. For this purpose the printing should be basic, fast and relatively inexpensive.
Video: With the help of any video editing software the teacher will lay out all the student work into a single sequence. Roughly, he/she will end up with a sequence of a length of 3x(number of participants) min. The teacher will make sure to include each student’s name in the sequence.
Sound: Reproduce the sound clips you recorded using any software available [2].
Group discussion
The students and the teachers gather around a table or a wall where the work is presented.
The student who is showing cannot talk until the end of the discussion. The other students are invited to talk about what they see and feel with an open mind and heart.
Their comments are always about the images and never about the person who took the photograph. There is no good or bad picture, every element is crucial to learn. The likes and dislikes need to be carefully explained. The teachers are there to coordinate and help the discussion.
The group discussion takes place for about 20 minutes. At the end of the discussion the student who is showing the work can talk about his/her concerns and reactions [3].
[1] The number/time frame is a suggestion based on specific time and budget constraints. It is crucial to set a specific limit for all students to follow.
[2] Consider the time needed to print, import and manage the digital files to be shared.
[3] The time the group session should not be too long in order to maintain the appropriate concentration and care for every student. The teacher is there to ensure that every student is engaged and motivated in the process.